
How to write Gcode for ZMorph DualPro extruder and make multi-color prints
Today we will work with ZMorph DualPro extruder. This is an extruder that allows multi-material printing and color blending. Zmorph has a dedicated software for it with many great features called Voxelizer however, as usual, we will write things by ourselves.
The DualPro extruder has two motors, one for the left filament and one for the right one. We can control each one of them separately or both of them at the same time. For this we have three possible Gcode commands:
- T0: select left extruder;
- T1: select right extruder;
- T3: mixing mode. Once we are in mixing mode we can specify the amount of extrusion for the left extruder with the parameter E and for the right extruder with the parameter A.
So for example:
T0 ;select left extruder
G1 E1.0 ;extrude 1mm of filament
T1 ;select right extruder
G1 E1.0 ;extrude 1mm of filament
T3 ;select mixing mode
G1 E0.5 A1.0 ;extruder 0.5 mm from the left extruder and 1.0 mm from the right extruder at the same time
This is all we need to know about the extruder. Now we can modify the code that we wrote for our vase generator and start to make multi-color prints 😉
First of all, we want to know the gradient of each path that we want to extrude. For this we will simply add a float variable to our Path class and a setter function. A value of 1 means that we are only using the left extruder, a value of 0 only the right one and a value in the middle that we are mixing colors.
class Path {
  ArrayList<PVector> vertices;
  float gradient = 1;

  //[...]

  void setGradient(float g) {
    gradient = g;
  }

  //[...]
}
Most of our changes will happen in the GcodeGenerator tab. Let’s start by putting an enum for our extruders:
enum Extruder {
  T0, T1, T3
}
Then, in case we will use T3, we will need a variable to take care of the right extruder: so let’s add the A parameter under the E one to the GcodeGenerator class.
float E = 0; // Left extruder
float A = 0; // Right extruder
Now we will write a method which specifies which extruder we want to use.
void setExtruder(Extruder last_extruder, Extruder current_extruder) {
  if (last_extruder == current_extruder)
    return;
  else
  {
    if (current_extruder == Extruder.T0)
      write("T0");
    else if (current_extruder == Extruder.T1)
      write("T1");
    else if (current_extruder == Extruder.T3)
      write("T3");
    else
    {
      println("   ERROR *** Extruder type not found\n");
      exit();
    }
  }
}
and we will call it before starting extruding a new path. We have also created a new variable last_extruder that remembers the last extruder used.
In order to know which extruder we want to use, we need a method that returns the necessary extruder out of the desired gradient.
Extruder getExtruder(float gradient) {
  if (abs(gradient-1)<EPSILON)
    return Extruder.T0;
  else if (abs(gradient-0)<EPSILON)
    return Extruder.T1;
  else
  return Extruder.T3;
}
And finally we need to rewrite all of our moving/extruding/retracting function in a way that they consider the possibility of multi color printing:
void moveTo(PVector p, float gradient) {
  retract(gradient);
  write("G1 " + "X" + p.x + " Y" + p.y + " Z" + p.z + " F" + settings.travel_speed);
  recover(gradient);
}

float extrude(PVector p1, PVector p2) {
  float points_distance = dist(p1.x, p1.y, p2.x, p2.y);
  float volume_extruded_path = settings.getExtrudedPathSection() * points_distance;
  float length_extruded_path = volume_extruded_path / settings.getFilamentSection();
  return length_extruded_path;
}

void extrudeTo(PVector p1, PVector p2, float extrusion_multiplier, float gradient) {
  if (abs(gradient-1)<EPSILON || abs(gradient-0)<EPSILON) {
    E+=(extrude(p1, p2) * extrusion_multiplier);
    write("G1 " + "X" + p2.x + " Y" + p2.y + " Z" + p2.z + " E" + E);
  } else {
    E+=(extrude(p1, p2) * extrusion_multiplier * gradient);
    A+=(extrude(p1, p2) * extrusion_multiplier * (1-gradient));
    write("G1 " + "X" + p2.x + " Y" + p2.y + " Z" + p2.z + " E" + E + " A" + A);
  }
}

void retract(float gradient) {
  if (abs(gradient-1)<EPSILON || abs(gradient-0)<EPSILON) {
    E-=settings.retraction_amount;
    write("G1" + " E" + E + " F" + settings.retraction_speed);
  } else {
    E-=(settings.retraction_amount * gradient);
    A-=(settings.retraction_amount * (1-gradient));
    write("G1" + " E" + E + " A" + A + " F" + settings.retraction_speed);
  }
}

void recover(float gradient) {
  if (abs(gradient-1)<EPSILON || abs(gradient-0)<EPSILON) {
    E+=settings.retraction_amount;
    write("G1" + " E" + E + " F" + settings.retraction_speed);
  } else {
    E+=(settings.retraction_amount * gradient);
    A+=(settings.retraction_amount * (1-gradient));
    write("G1" + " E" + E + " A" + A + " F" + settings.retraction_speed);
  }
}
The generate() method now looks like this:
GcodeGenerator generate() {
  Extruder last_extruder = Extruder.T0;

  gcode = new ArrayList<String>();

  float extrusion_multiplier = 1;

  startPrint();

  for (Path path : processor.paths) {

    moveTo(path.vertices.get(0), last_gradient);

    if (getLayerNumber(path.vertices.get(0)) < settings.start_fan_at_layer) {
      setSpeed(settings.default_speed/2);
    } else if (getLayerNumber(path.vertices.get(0)) == settings.start_fan_at_layer) {
      setSpeed(settings.default_speed);
      enableFan();
    } else {
      setSpeed(settings.default_speed);
    }

    Extruder current_extruder = getExtruder(path.gradient);
    setExtruder(last_extruder, current_extruder);

    write("G92 E0.0");
    E = 0;
    if (current_extruder == Extruder.T3) {
      write("G92 A0.0");
      A = 0;
    }

    extrusion_multiplier = getLayerNumber(path.vertices.get(0)) == 1 ? settings.extrusion_multiplier : 1;

    for (int i=0; i<path.vertices.size()-1; i++) {
      PVector p1 = path.vertices.get(i);
      PVector p2 = path.vertices.get(i+1);
      extrudeTo(p1, p2, extrusion_multiplier, path.gradient);
    }

    last_gradient = path.gradient;
    last_extruder = current_extruder;
  }

  endPrint();

  return this;
}
Now we need to actually tell what gradient each path has. We can do this in our Creator class by adding two new variable, top_gradient and bottom_gradient, and their setters:
float top_gradient = 1.0;
float bottom_gradient = 1.0;

//[...]

Vase setBottomGradient(float b_g) {
 bottom_gradient = b_g;
 return this;
}

Vase setTopGradient(float t_g) {
 top_gradient = t_g;
 return this;
}
We will then map the gradient according to the layer height:
gradient = map(layer, 0, tot_layers, bottom_gradient, top_gradient);
And so the generate() method for the Vase class will be like this:
void generate() {

  paths = new ArrayList<Path>();

  float tot_layers = hei / settings.layer_height;
  float z = 0;

  float angle_increment = TWO_PI / (float)sides;

  float rotation = 0;

  float oscillation_Z = 0;

  float gradient = 1;

  for (int layer = 0; layer<tot_layers; layer++) {

    gradient = map(layer, 0, tot_layers, bottom_gradient, top_gradient);

    z += settings.layer_height;
    rotation += increment_rotation;
    oscillation_Z += increment_oscillation_Z;

    Path new_path = new Path();

    float oscillation_XY = 0;

    for (float angle = 0; angle<=TWO_PI; angle+=angle_increment) {

      oscillation_XY+=increment_oscillation_XY;

      float x = center_x + cos(angle + rotation) * (len + sin(oscillation_XY) * amount_oscillation_XY + sin(oscillation_Z) * amount_oscillation_Z);
      float y = center_y + sin(angle + rotation) * (wid + sin(oscillation_XY) * amount_oscillation_XY + sin(oscillation_Z) * amount_oscillation_Z);

      PVector next_point = new PVector(x, y, z);

      new_path.addPoint(next_point);
    }

    new_path.makeClosed();
    new_path.setGradient(gradient);
    paths.add(new_path);
  }
}
We can update our GUI tab in order to be able to modify top_gradient and bottom_gradient:
//[...]

cp5.addSlider("top_gradient").setPosition(start_X, start_Y+=2*inc_Y).setRange(0, 1).setCaptionLabel("Top gradient").setColorCaptionLabel(100).setValue(1);
  cp5.addSlider("bottom_gradient").setPosition(start_X, start_Y+=inc_Y).setRange(0, 1).setCaptionLabel("Bottom gradient").setColorCaptionLabel(100).setValue(1);

//[...]

void controlEvent(ControlEvent theEvent) {
  if (theEvent.isController()) {
    //[...]
    } else if (theEvent.getController().getName()=="bottom_gradient") {
      builder.vase.setBottomGradient(cp5.getController("bottom_gradient").getValue());
      builder.update();
    } else if (theEvent.getController().getName()=="top_gradient") {
      builder.vase.setTopGradient(cp5.getController("top_gradient").getValue());
      builder.update();
    }
    //[...]
  }
}
And now we only need to test it 😉

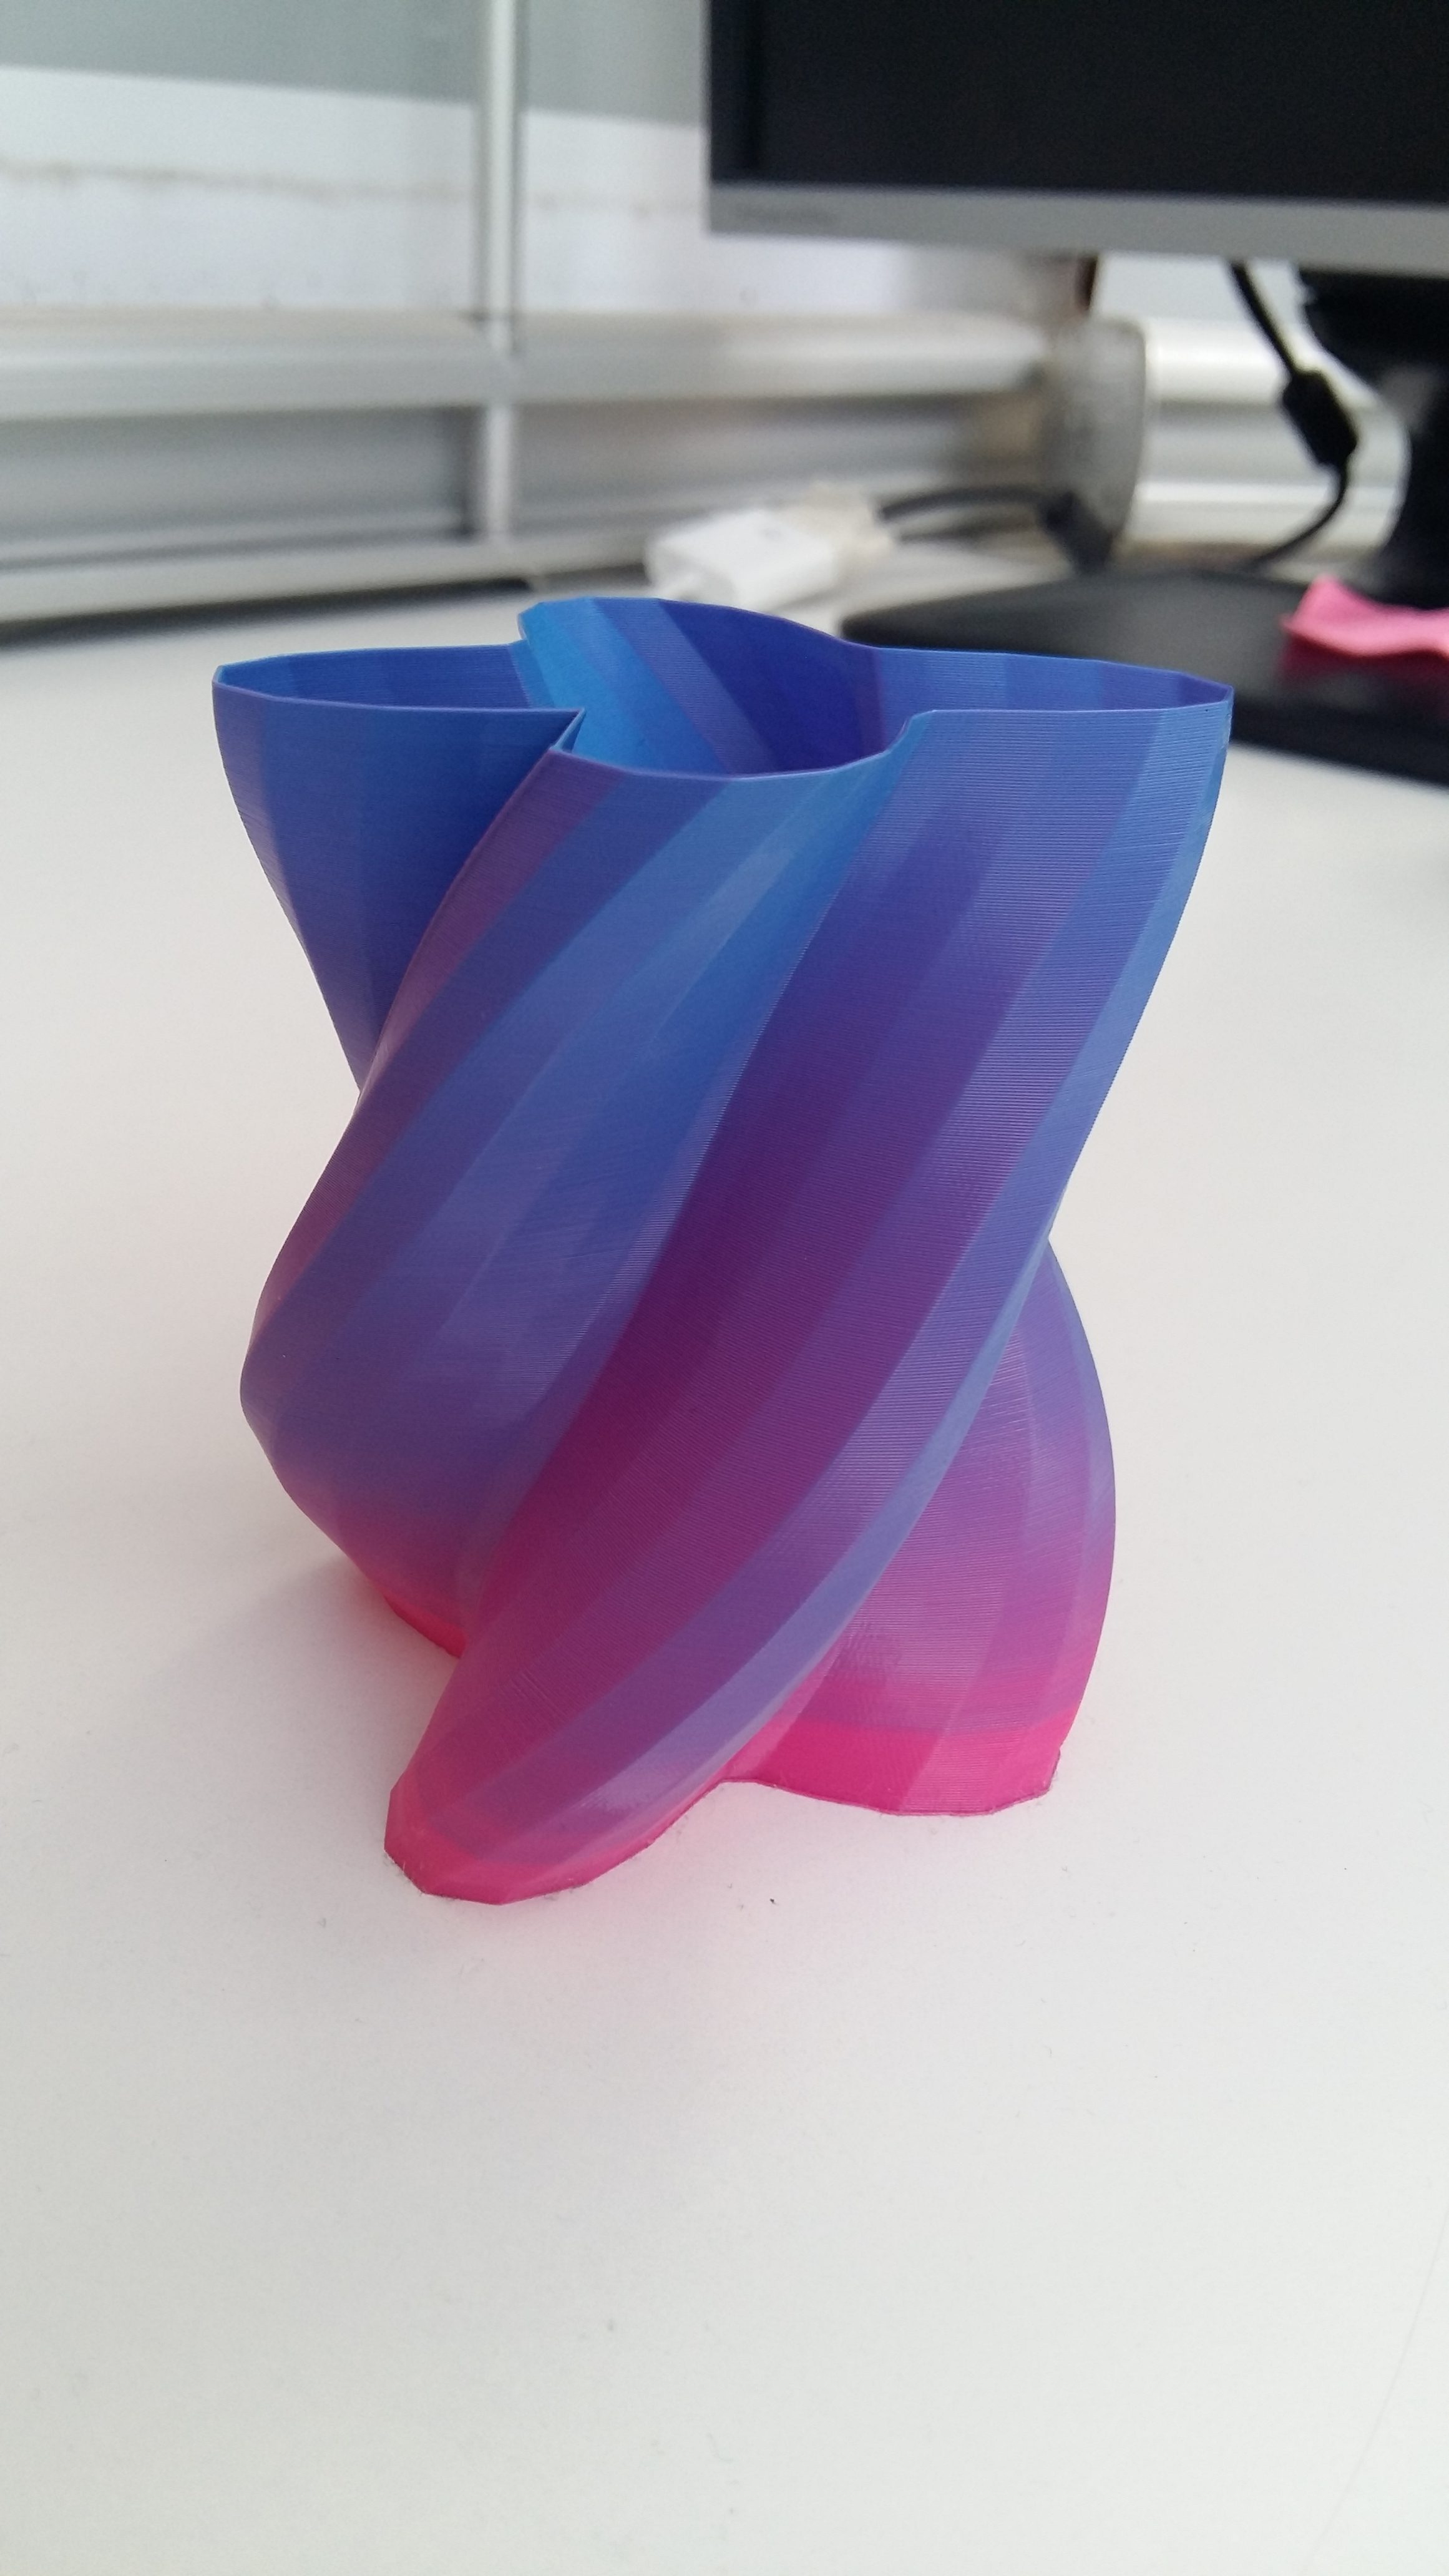
It works! As usual, you will find all the code on GitHub.
As you might have notices, we have created a code that allows us to make smooth transitions of color. If we want to have different changes we will need to add a cleaning artifact, like a tower or a brim. This might be the topic for a future tutorial.
