
How to use ToxicLibs Volumetric brush to create 2.5D models representing Perlin noise fields in Processing
In this tutorial we will see how we can use the ToxicLibs Volumetric brush to create 2.5D models representing Perlin noise fields in Processing.
ToxicLibs Volumetric brush is a very nice tool that allows us to “paint in 3D” using voxels. You can think about a canvas made of 3D pixels which we fill with our brush, and that we later convert to a mesh that can be used in other programs. Basically, instead of drawing our vector field on the normal Processing 2D canvas we will do it in 3D inside the voxel space with the volumetric brush. Let’s see how to do it. We will first see how to setup the voxel space and the volumetric brush, then we will draw the vector field.
1 – Set up ToxicLibs volumetric brush
Let’s start by importing the parts of Toxiclibs that we will need. Since we work in a 3D environment we will also use PeasyCam for navigating the scene.
import toxi.geom.*;
import toxi.geom.mesh.*;
import toxi.volume.*;
import toxi.processing.*;

import peasy.*;
import peasy.org.apache.commons.math.*;
import peasy.org.apache.commons.math.geometry.*;

PeasyCam cam;

void setup() {
  size(1024, 768, P3D);

  noStroke();
  fill(255);

  cam = new PeasyCam(this, 50);
  cam.setMinimumDistance(1);
  cam.setMaximumDistance(100);
}

void draw() {
  background(0);
}
Now we will set up the Toxiclibs classes and the main parameters that we need. I encourage you to check the documentation for the details about the use and the meaning of each one of them.
VolumetricSpacedefines the voxel space within which we will work. We need to define its size in x,y,z and scale;VolumetricBrushis the brush that we will use to draw;IsoSurfaceis a class that reads the values from theVolumetricSpaceand extracts the ones below a certainISO_THRESHOLD, converting them to aTriangleMesh;TriangleMeshis the final mesh that we render and export;ToxicLibsSupportfor rendering Toxcilibs objects in P3D;
[...]

ToxiclibsSupport gfx;

VolumetricSpace volume;
VolumetricBrush brush;
IsoSurface surface;
TriangleMesh mesh;

int DIMX=200;
int DIMY=200;
int DIMZ=25;

Vec3D SCALE=new Vec3D(1, 1, 0.1).scaleSelf(50);

float ISO_THRESHOLD = 0.5;
float DENSITY=0.5;

void setup() {
  [...]

  gfx=new ToxiclibsSupport(this);
  volume=new VolumetricSpaceArray(SCALE, DIMX, DIMY, DIMZ);

  brush=new RoundBrush(volume, 0.1);
  surface=new ArrayIsoSurface(volume);
  mesh=new TriangleMesh();
}
Let’s run a test drawing on the voxel space with the mouse, just like we would do with the 2D canvas.
void draw() {
  background(0);

  myLights();

  brush.setSize(1);
  brush.drawAtGridPos(map(mouseX, 0, width, 0, DIMX), map(mouseY, 0, height, 0, DIMY), DIMZ / 2, DENSITY);

  volume.closeSides();

  surface.reset();
  surface.computeSurfaceMesh(mesh, ISO_THRESHOLD);

  myPerspective();
  gfx.mesh(mesh);
}

void myPerspective() { // Avoid clipping the view
  float fov = PI/3.0;
  float cameraZ = (height/2.0) / tan(fov/2.0);
  perspective(fov, float(width)/float(height), cameraZ/500.0, cameraZ*10.0);
}

void myLights() {
  directionalLight(240, 240, 240, 0.25, 0.25, 1);
  directionalLight(240, 240, 240, 0, 0, -1);
  lightSpecular(240, 240, 240);
  shininess(1);
}

Exporting is also easy:
[...]

boolean save = false;

void setup() {
  [...]
}

void draw() {
  [...]

  if (save) {
    exportMesh();
  }
}

[...]

void exportMesh() {
  mesh.saveAsSTL(sketchPath("scribble"+(System.currentTimeMillis()/1000)+".stl"));
  save = false;
}

void keyPressed() {
  if (key=='s') {
    save = true;
  }
}
As you realize, this approach opens many possibilities, where we create one ore more brushes together with sets of rules and let them paint in the 3D space, letting all sorts of shapes emerge. Check for example this video where a rhizome like structure is created using this method:
What we will do now, however, as we said in the beginning is creating a sort of Perlin noise field visualization. The code is simple, so you won’t have problems to understand it.
2 – Perlin noise field
[...]

ArrayList<Agent> agents;


int N_AGENTS=250;

[...]


void setup() {
  [...]

  agents = new ArrayList<Agent>();
  for (int i=0; i<N_AGENTS; i++) {
    agents.add(new Agent(random(DIMX), random(DIMY), DIMZ/2));
  }
}


void draw() {
  background(0);

  myLights();

  for (Agent agent : agents) {

    agent.setSpeed(cos(noise(agent.x*0.1, agent.y*0.1)*TWO_PI), sin(noise(agent.x*0.1, agent.y*0.1)*TWO_PI), 0);
    agent.update();

    brush.setSize(agent.size);
    brush.drawAtGridPos(agent.x, agent.y, agent.z, DENSITY);
  }

  [...]
}

class Agent extends Vec3D {
  Vec3D speed;
  boolean active = true;
  float size = 0.50;

  Agent(float x, float y, float z) {
    super(x, y, z);
  }

  void setSpeed(float x, float y, float z) {
    speed = new Vec3D(x, y, z);
  }


  void update() {
    if (active) {

      x+=speed.x;
      y+=speed.y;
      z+=speed.z;

      if (x<0 || x>DIMX || y<0 || y>DIMY)
        active = false;
    }
  }
}

[...]
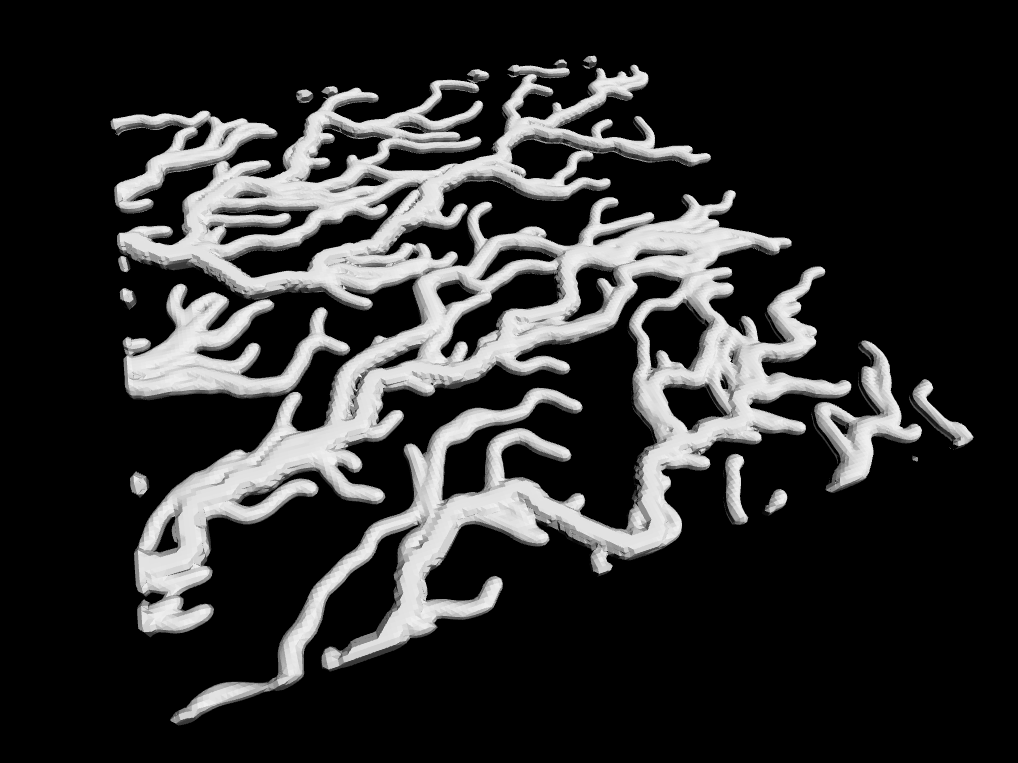
This looks already quite nice, however, when we do this kind of things in 2D, we usually draw the agents with an alpha value so that we can see the paths that are traveled the most. In the code above this goes a bit lost. What we could do is changing the size of the agent/brush when it goes on a more traveled path. We could obtain this by letting each agent leaving some “food” that will later be “eaten” by the following agents. Each time an agent “eats” it gets bigger. Something like this:
[...]

ArrayList<Agent> agents;
ArrayList<Vec3D> food;


int N_AGENTS=500;

[...]


void setup() {
  [...]

  agents = new ArrayList<Agent>();
  for (int i=0; i<N_AGENTS; i++) {
    agents.add(new Agent(random(DIMX), random(DIMY), DIMZ/2));
  }

  food = new ArrayList<Vec3D>();
}


void draw() {
  background(0);

  myLights();

  for (Agent agent : agents) {

    agent.setSpeed(cos(noise(agent.x*0.1, agent.y*0.1)*TWO_PI), sin(noise(agent.x*0.1, agent.y*0.1)*TWO_PI), 0);
    agent.update(food);

    brush.setSize(agent.size);
    brush.drawAtGridPos(agent.x, agent.y, agent.z, DENSITY);
  }

  [...]
}

class Agent extends Vec3D {
  Vec3D speed;
  boolean active = true;
  float size = 0.25;
  int age = 0;

  [...]

  void eat(ArrayList<Vec3D> food) {
    ArrayList<Vec3D> food_update = new ArrayList<Vec3D>();
    boolean has_eaten = false;
    for (int i=0; i<food.size(); i++) {
      if (!has_eaten) {
        float dist = sqrt(sq(x-food.get(i).x)+sq(y-food.get(i).y)+sq(z-food.get(i).z));
        if (dist<2*size) {
          size+=0.0125;
          has_eaten = true;
        } else {
          food_update.add(food.get(i));
        }
      } else {
        food_update.add(food.get(i));
      }
    }
    food = food_update;
  }

  void growFood(ArrayList<Vec3D> food) {
    if (active)
      food.add(new Vec3D(x, y, z));
  }

  void update(ArrayList<Vec3D> food) {
    if (active) {
      age++;

      eat(food);

      if (age%100 == 0)
        growFood(food);

      x+=speed.x;
      y+=speed.y;
      z+=speed.z;

      if (x<0 || x>DIMX || y<0 || y>DIMY)
        active = false;
    }
  }
}


[...]
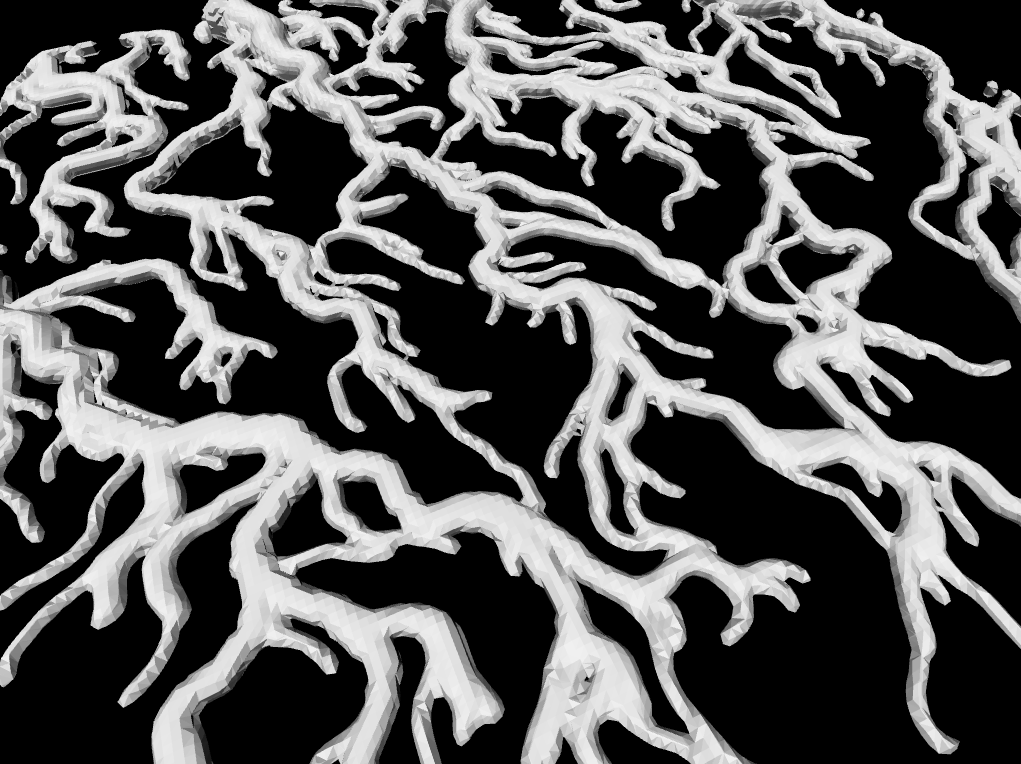
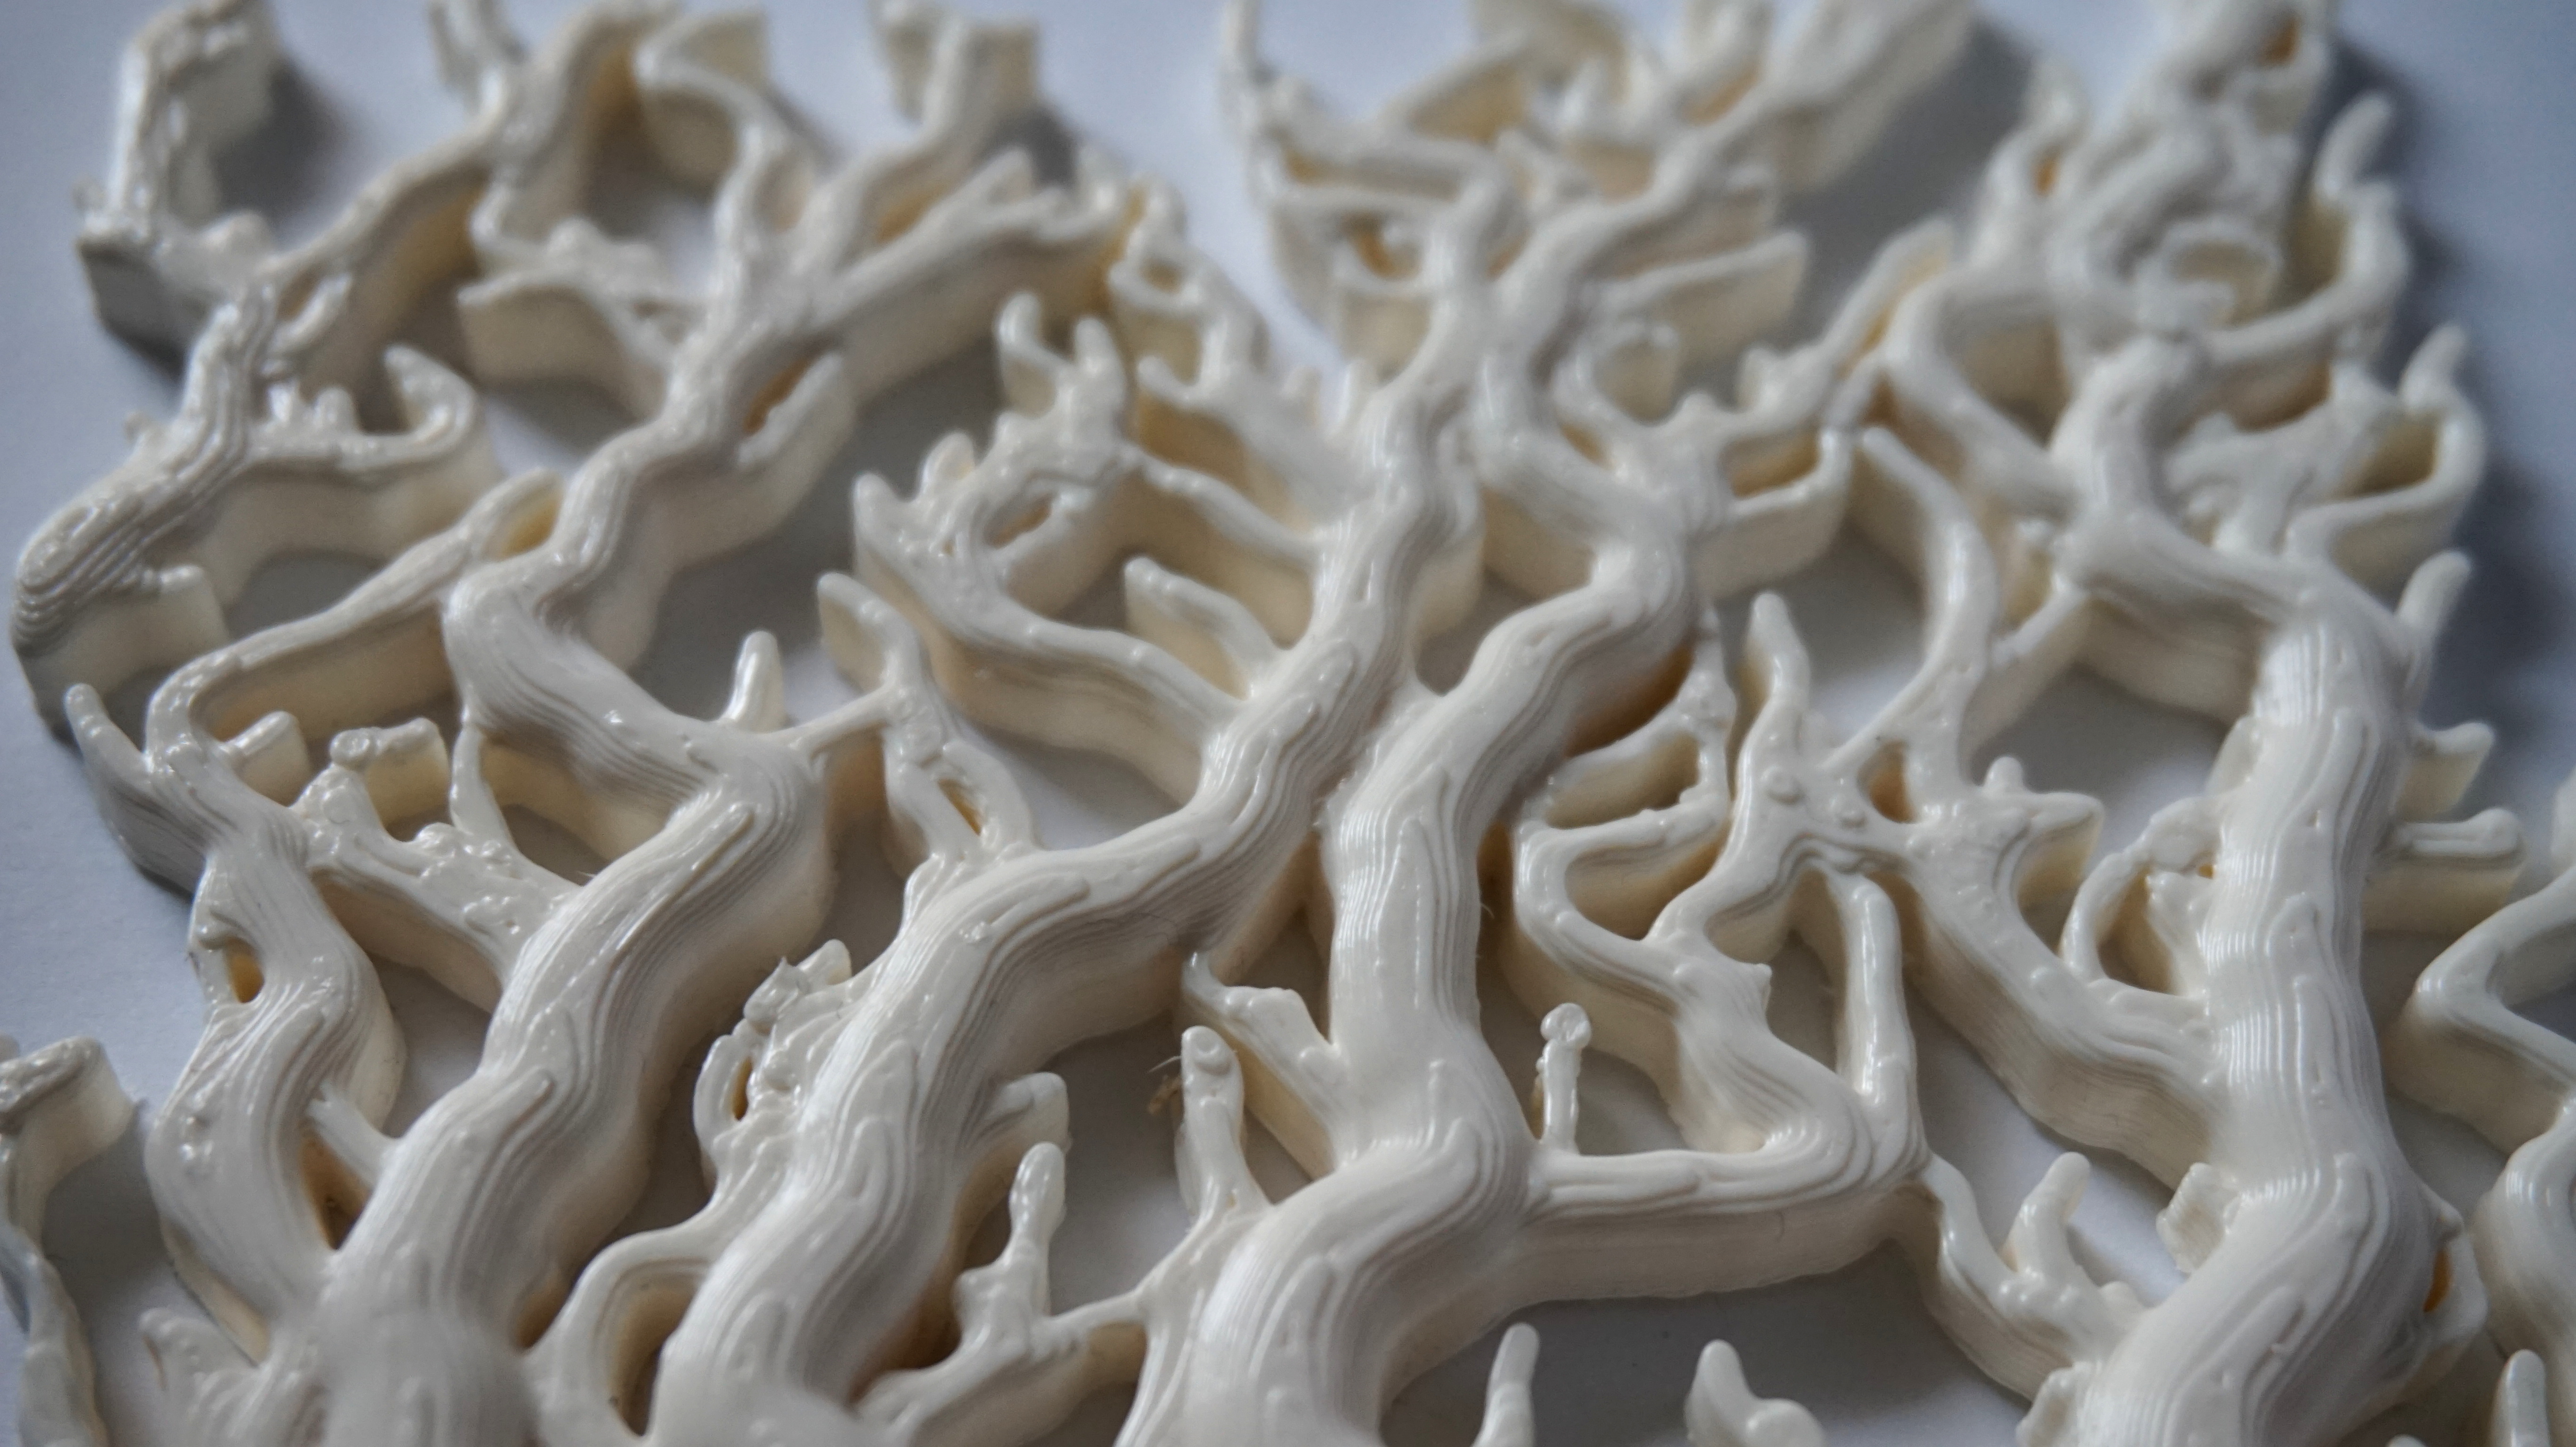
Personally, I prefer this kind of result, as it is more complex and gives more space to the Z dimension.
As you can see, the mesh is little bit “rough”, with the triangles clearly visible. ToxicLibs offers some classes that allow us to subdivide and smooth the mesh, an operation that we can do before the export.
[...]

void exportMesh() {
  WETriangleMesh we_mesh = mesh.toWEMesh();
  we_mesh.subdivide();
  new LaplacianSmooth().filter(we_mesh, 2);
  //we_mesh.saveAsOBJ(sketchPath("scribble"+(System.currentTimeMillis()/1000)+".obj"));
  we_mesh.saveAsSTL(sketchPath("scribble"+(System.currentTimeMillis()/1000)+".stl"));
  save=false;
}

[...]

For some reason, sometimes I cannot open the STLs generated with this method, that’s why I have also included the saveAsOBJ() function which instead always works right. The subdivision process is also quite slow in ToxicLibs, so it is probably better to export the mesh as it is and then do some post-processing in another software, for example Blender.
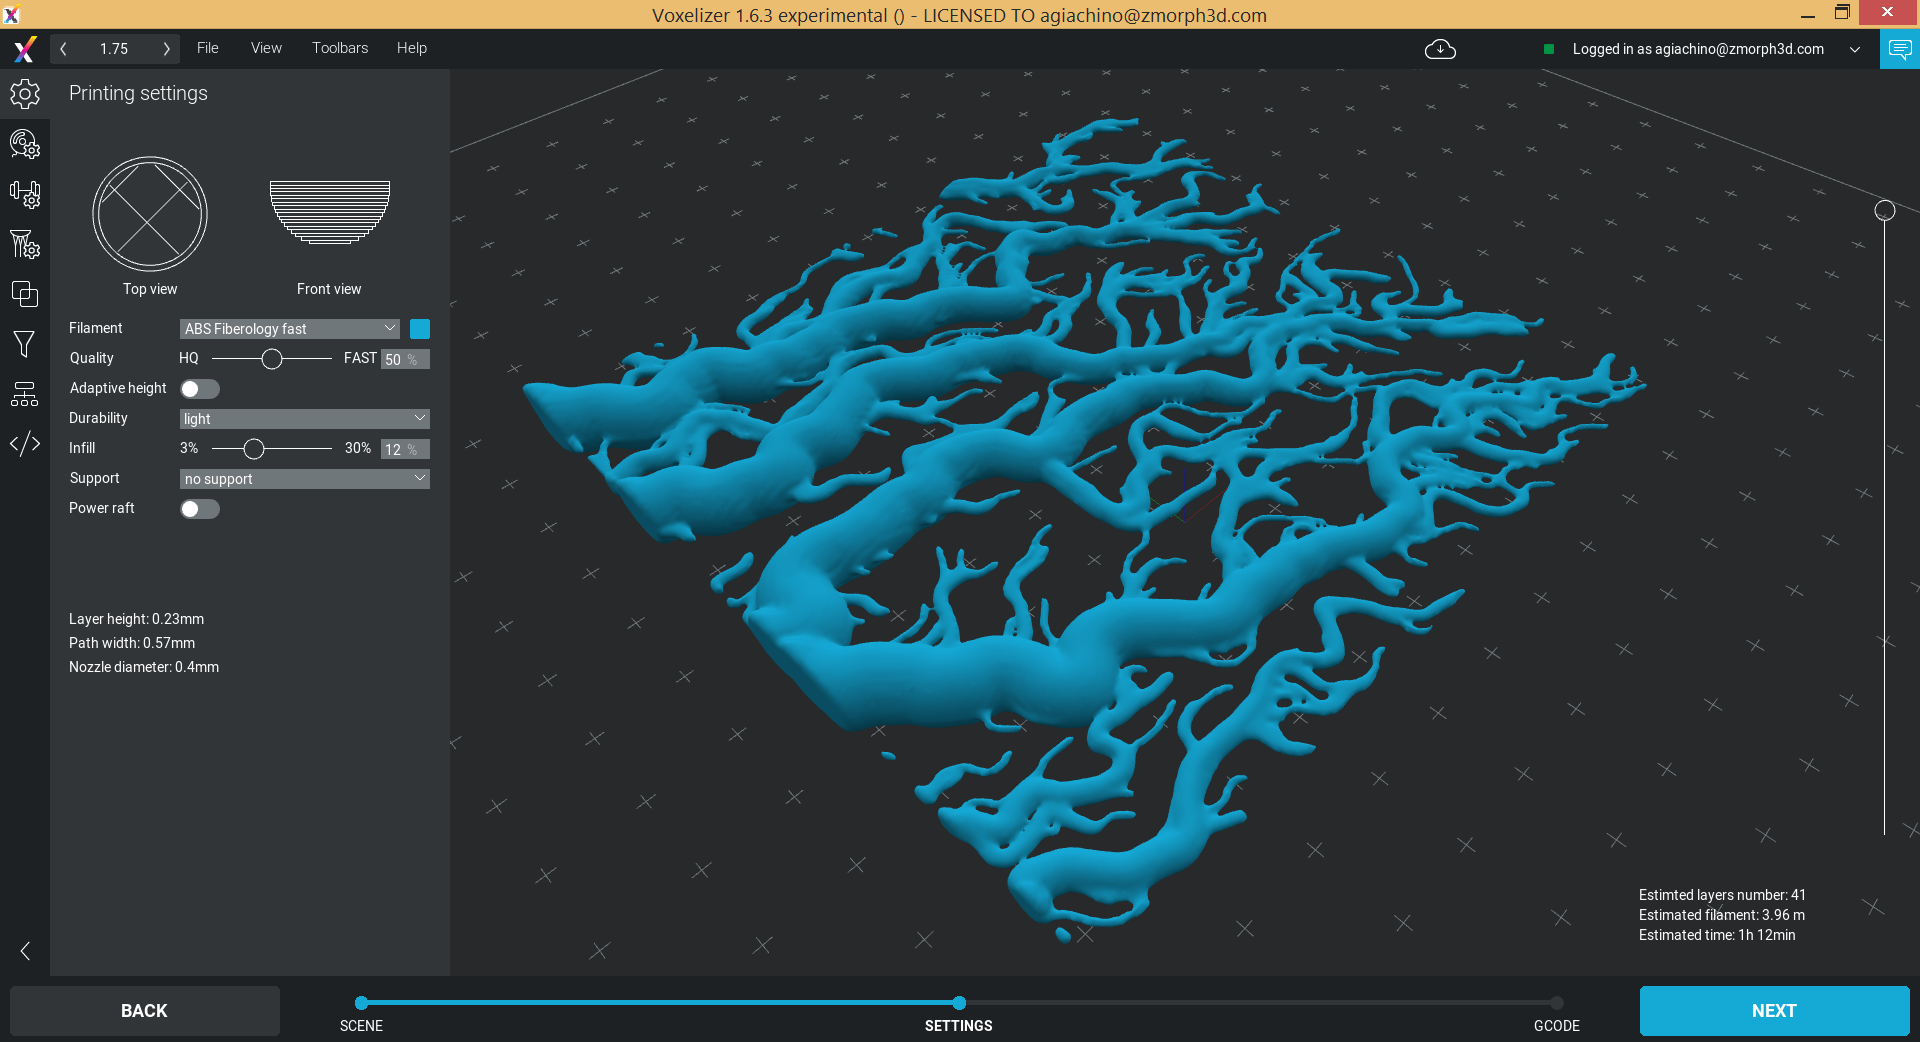
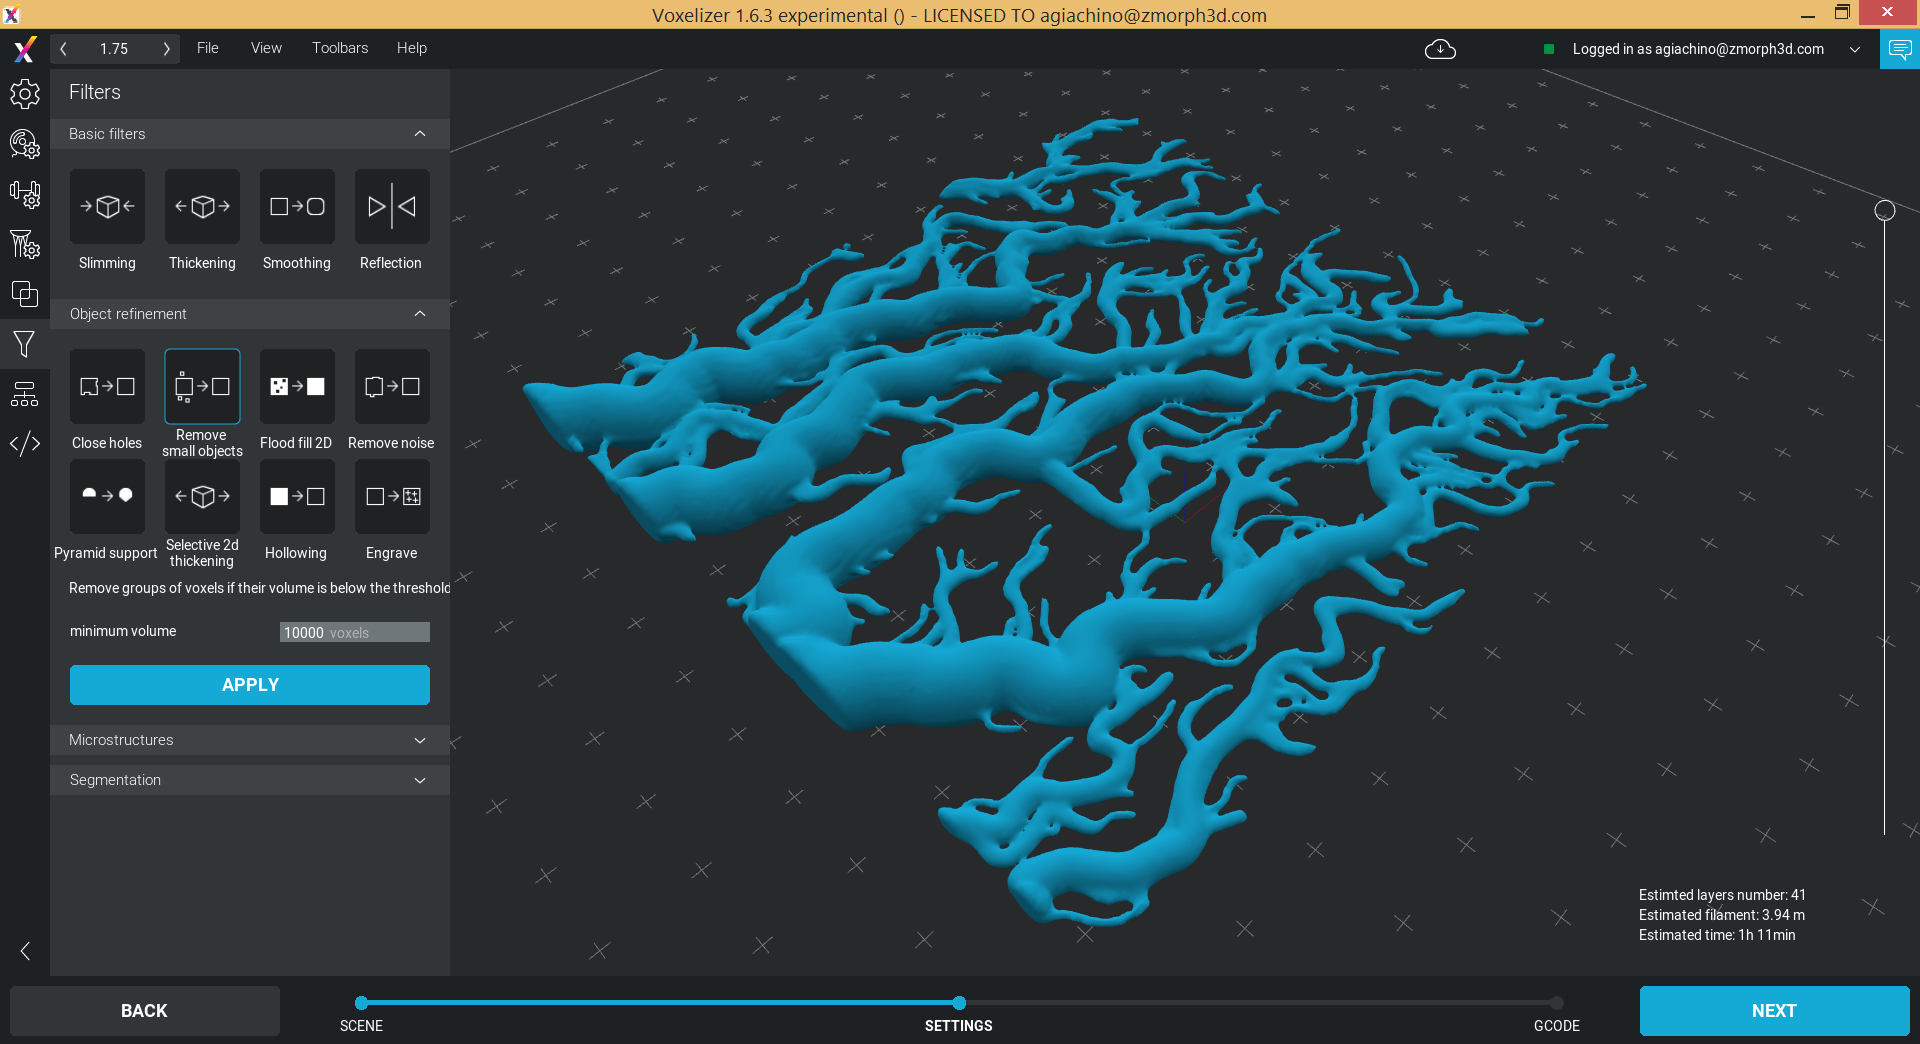
3 – 3D print from Voxelizer
Ok, now that we have our final mesh, how about 3D printing it? This is not a very simple model to print, however we will now see how we can use Voxelizer to modify it and make it easily printable.
We start by importing the model and scaling it so that it is of the desired size (in my case 10 x 10 cm). Then we click NEXT.

Now the software is voxelizing the mesh. Basically it is doing the opposite process that we did before, when from voxels we went to mesh. It would be nice to export directly in the voxel format that Voxelizer is using (.vdb) and we could do this, but honestly it would be a pain to implement the hole thing and it’s not worth the time. Better go back and forth a couple of time by clicking two buttons.
Now that the model has been voxelized we want to get rid of the small parts of it that are not attached to anything, since there would be no point in printing them. We can easily do this with the “Remove small objects” filter.
 As you can see from the lateral view, the model requires support. However I want something to put on the table or hang on the wall so I would like to have a flat base. In Voxelizer we can do this in one click thanks to the “Pyramid support” filter. Just change the “voxel scope” parameter to 1 so that it goes all the way to the bottom. Finally we can use the “Smooth filter” to have a nice surface again.

Now that our model is ready we can apply the printing presets, generate the g-code and print it.
You can find the hole code for this tutorial on GitHub.

