
How to make a parametric wall with Blender and Sverchok for CNC or laser cutting.

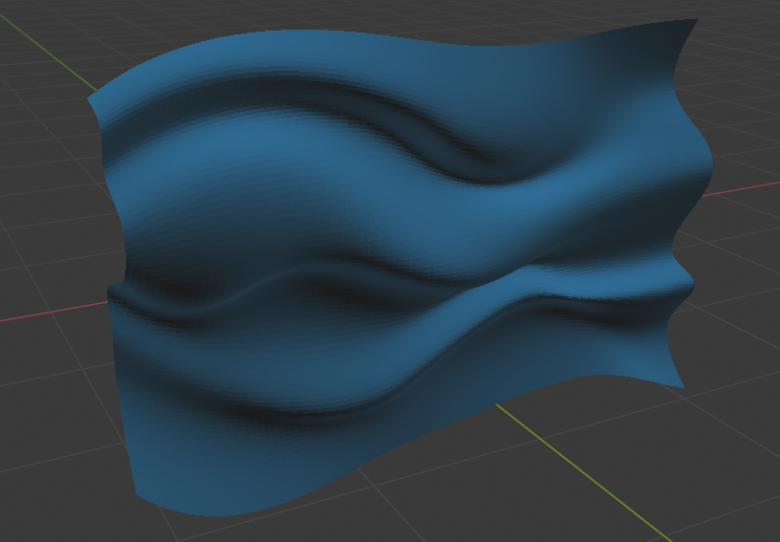
I’ve thought for a while on how to realize an interesting parametric wall like this one:
After a bit of experimentation, I came out with a relatively easy and quite flexible workflow that gives nice results. It is composed of three steps: modeling, slicing and DXF export.
Parametric wall – Step 1: Modeling
For the type of shape that I have in mind I’ve decided to use splines. The idea is to model the splines as level curves on a topographic map, placing them where there will be a sensible height or shape variations. Sverchok will then take care of interpolating them to create a surface.


Once you start to be satisfied with the result, you can move to Sverchok. Create a new node tree, import the splines with the Objects in node and interpolate a surface with the Vector Interpolation UV and the UV connection nodes. It is crucial that the order of the splines is correct: in order to guarantee that, rename (e.g 1,2,3… or a,b,c…) the splines and activate the Sort toggle in the Objects in node.

You can tweak the splines and update the node tree until you are happy with the result. Then, bake the shape and create a solid volume by extruding and closing with a face the border edges.

Parametric wall – Step 2: Slicing
This and the next step are a new take on my article How to slice a 3D model for laser cutting and CNC milling. Create a new node tree. Here we will create slices of the model with the help of the Bisect node.
If your final goal is to manufacture your design, make sure that you are working with the right units (although made for Blender 2.79, you can take a look at my article on this regard) and that the slices are placed at the right distance from each other (the Step input in the Line node).


Parametric wall – Step 3: DXF export
Now we can procede to export the slices to the DXF file that we will give to our CAM software. To do this we need to have them laying flat on the XY plane. We will use a couple of matrix transformation tricks, bake the shapes and then use the DXF export add-on (make sure to activate it in the Preferences).


That’s it. If you need more details on the process, refer to the embedded YouTube video from my channel. Have fun 🙂

Interested in Sverchok? Then check out Learning Sverchok, the free ebook by CodePlastic!